My daughter has no problem reminding me that she is now technically in her "Tween" years. Apparently, aside from the growth spurts, crushes, and oh lordy help me...One Direction songs on repeat - a bedroom makeover is a must for all tweens. She requested this in the middle of our kitchen/dining/formal living room/living room overhaul, in which she received a resounding "No!" from Mr. Smitten and myself. Naturally, it only took a few more begging sessions before the hubby and I caved.
There were specific items on her wish list that were required in this makeover: A full size bed, a new color scheme, a way to display photos that can be easily swapped for new ones, a decent sized desk, make more room to walk around her bed and it had to be "cool". A little demanding, eh? We searched through stacks of magazines and photos on the web so I can get a better idea of how her own style was evolving. It turns out she was drawn to Scandinavian decor and mid century modern pieces of furniture. She also voiced her love for art murals. Yep, my most difficult, frequent client - my daughter.
Before
The remnants of the Girly Chic tear down
After
What did we do?
Got rid of ALL of her previous bedroom furniture *Easy!*
Found a Mid Century Modern Full Size Bed Frame *Waaaay harder than anticipated*
Found a once ugly, now painted pretty desk for $20 *Sahweeet!*
Purchased a cheap, smaller p.o.s. dresser and made it new again *Not for the impatient*
Created more space *Less clutter - score!*
The rest was all details *That was the fun part*
Oh and if you were wondering, yes, we painted her floor.
 |
| Used paintable wallpaper and wood framing: Lowes, Mirrors, lamps and shelves: Ikea |
 |
Art mural per the Tween's request.
Materials: Mechanical Pencil, Two Sharpies, a Red Eraser and a Whole Weekend |
 |
I used an antique book that I had purchased to create the ballerina skirt.
Don't worry, the book was already falling apart. |
 |
| Ten points to the person who can figure out what book this is from! |
 |
| I added some scenes from one of her favorite childhood books, "A Summertime Song." |
 |
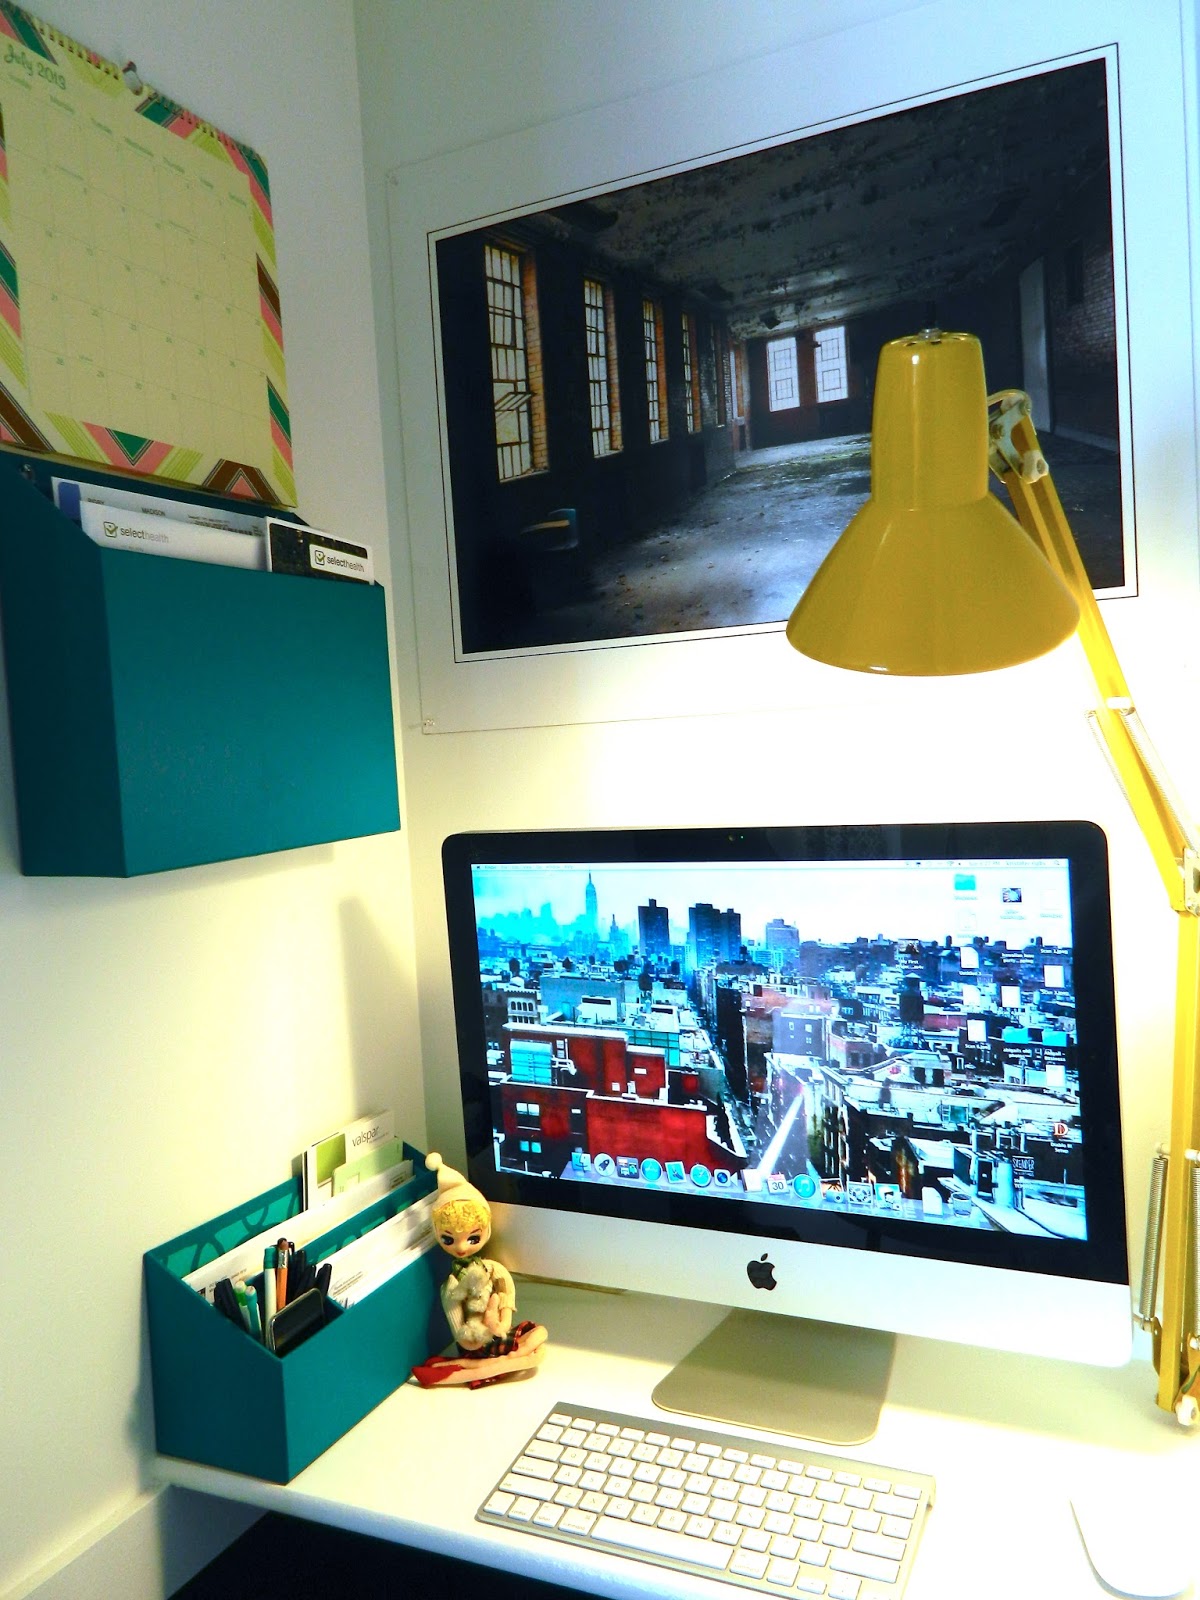
| The Tween Station |
 |
| Installed a mirror on her wall that can be easily tucked behind her curtain. |
 |
| We may have gotten rid of the bookshelves, but we'll never stop encouraging her to read as much as she can. |
 |
| Twine and fabric covered laundry clips: photo display problem solved! |
 |
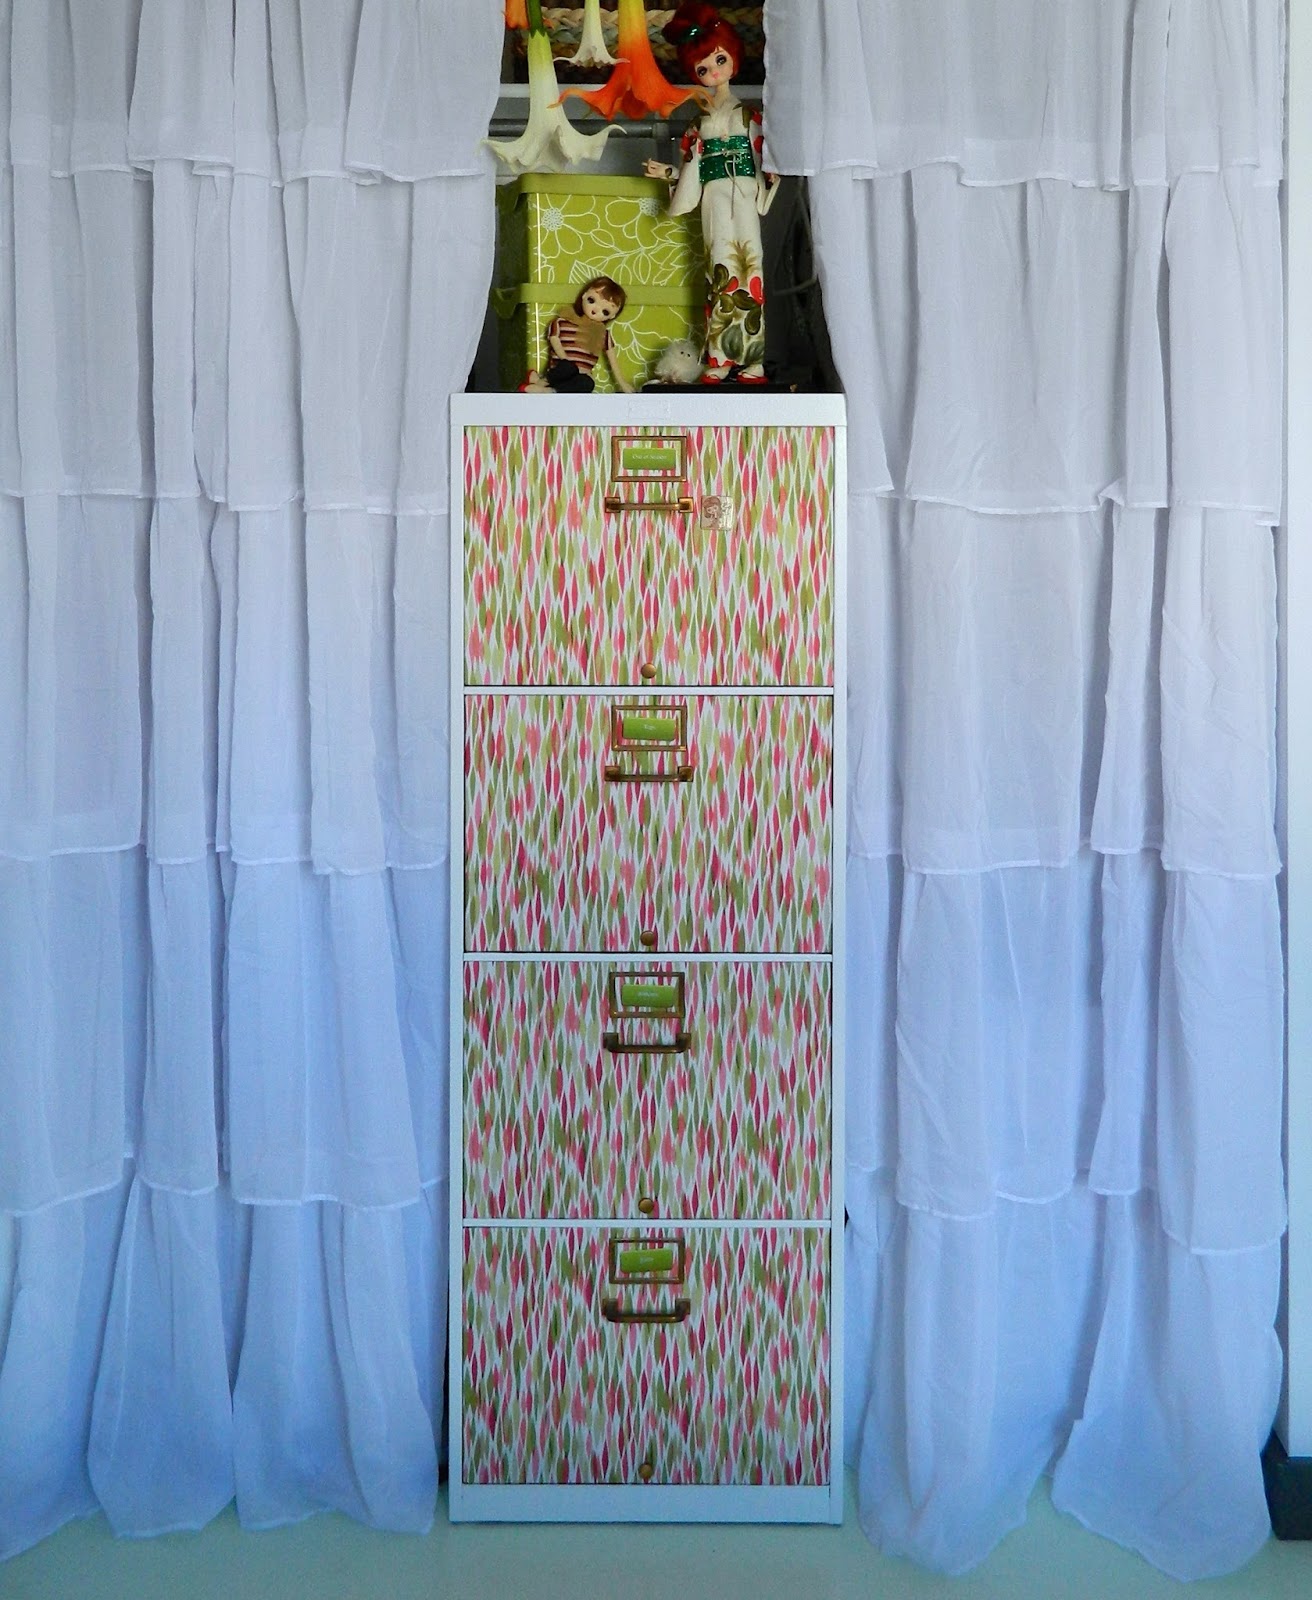
| We swapped out the closet doors with curtains and added this re purposed file cabinet for extra clothes storage. |
 |
| Blythe Doll mural |
 |
| Just for fun |
 |
| A couple vintage suitcases to store odds and ends. |
Regardless of the stress that comes with finding just the right touches for this room, this was one of the most enjoyable projects I've worked on to date! Gotta keep my #1 repeat customer happy!
Next up: Living Room Mini Makeover
xoxo,
~*Abigail*~